Living Room Updates

This is the story of a girl and green paint.

When you first walk into our house, you are in our front living room.  This is more of a formal living room.  No TV.  That’s what equals formal in our lives. 🙂

It’s an awkward space with lots of doors leading to other rooms, which doesn’t leave a lot of wall space.  There is really only 1 way to situate the furniture in this room, so it’s been that way since we moved in.

When we first moved in, I painted the walls green.  And when I say green, it was GREEN.  IN YOUR FACE SCREAMING GREEN.

27057_1345187905982_1119780840_31063571_148178_n

YUCK!  This was my first experience choosing paint and I went way too dark.  I hated it.  I still wanted green, so I repainted with Sherwin Williams- Grasslands.

a2e0d-img_7831.jpg

Much, much better, but something still didn’t feel right.  I lived with it for a long while, trying to decide what to do.  Finally, I realized, I don’t really like green.  I think that was the problem all along.  I don’t like green.

So, I repainted…. again.  This time I’m pleased.  I got the paint from Lowes’, but it was the Sherwin Williams HGTV brand.  The color is NorEaster.

20160824_123249-0120160824_123302-0120160824_123324-0120160824_123338-0120160824_123351-0120160824_123405-0120160824_123431-0120160824_123442-0120160824_123453-01

New paint on the walls and the piano, new pillows…

20160824_123409-01

and a few new accessories…

20160824_123418-01

I still have a few accessories to add, but I’m pleased.  Finally!

-Brooke

Tickling the Ivories

And by tickling the ivories, I mean painting them.  Well, not really.  I didn’t really paint the ivory part, just the ugly wood part.

I painted the piano.  Was that clear?  Clear as mud.  Anyways, I painted my piano.

I’ve been trying to get up the courage to do this for years.  It seemed like such a daunting task and scary…

The piano was old and ugly.  It was the wood color that reminds you of a bad spray tan.

f6789-img_8852f7378-img_8857

I had gone over many options in my head for how to remedy the spray tan- gel stain which I didn’t know if I would like, painting it which would involve sanding and I didn’t know if the sanding dust would get inside and ruin the piano… I was stuck.  So I left it like this for years.

Then, the other day I was walking through Walmart and spotted chalk paint.  did you know Walmart sells chalk paint?? Me either!  It’s Waverly brand and costs $4.97 for 8 oz.  I bought one in the color Ink.

Chalk paint doesn’t require sanding, so it sounded like the perfect option.  I taped off the keys and took the hardware off the front and then took off painting.  It ended up taking 2 coats.

20160823_19352620160823_19353520160823_19354520160823_19362020160823_193516

It looks so much better and took me all of 15 minutes total.  Crazy that I put it off so long.  Now, this piano is my happy place 🙂

-Brooke

DIY Faux Chalkboard Sign- Take 2

Way back when I re-did my entry way, I made this faux chalkboard sign using a piece of black foam board and a chalk pen.  In that post I mentioned that the letters were a little wonky and I would probably re-do it at some point.

IMG_7979

Well…. I could live with it no more!

I was scrolling through my Instagram feed and saw this beautiful sign that was posted by Shanty 2 Chic.  It was simple.  All it said was “It’s so good to be home.”  I fell in love with it.

I’m a home body and whenever we get home from anywhere, that is my exact sentiment.  It’s so good to be home.

This time around, I did a few things differently.  First off, I used an opaque white paint pen instead of a chalk pen.  This worked WAY better.  Also, I used a template that I printed off to make sure my letters were good.

First, I cut out my words and placed them on the foam board to get a feel for what I wanted it to look like.

20160806_110651

Then I traced the letters with a dull pencil.  This made an outline of the letters on the foam board.

20160806_111829

Then I just filled in the outlines with the paint pen and boom, done.

20160806_114736-01

I’m loving these foam board signs.  I think I’m going to make another one on white foam board at some point.

Here’s the cost breakdown:

Frame: $0 (already had)

Black foam board: $1- Dollar Tree

Opaque Paint Pen: $1.97- Walmart

Total: $2.97

Can’t beat that with a stick!

-Brooke

A Quick, Handy Update

Popping in with a real quick update that adds a cute touch to the kitchen and is really handy!

I had some leftover chalkboard paint.  I had a blank cabinet side.  Boom- cabinet chalkboard!  That’s it!

Here’s what the cabinet looked like before.

fcd63-img_9472

I taped off the edges & painted it with chalkboard paint.  Let it dry overnight.  After it dried, I rubbed chalk all over it and erased it.  This just seasons the chalkboard so you don’t leave permanent marks when you write on it.

20160714_065130-0120160714_065124-0120160714_065118-01

Cute and handy= win win!

-Brooke

DIY Octopied Sign

Are you excited for the weekend?  I am.  We’re going camping; the kids are pumped.  Oh, by the way, we bought a truck camper.  I’ll have to do a post soon with pictures of it.

Anywho, I’m back with a quick tutorial for the Octopied sign I made for our bathroom.  If you want to see the whole bathroom re-do, click here.

This was a simple sign to make and took me all of 10 minutes.

First, I printed my letters off the computer and cut them out.

I spray painted the board black since this was the color I wanted my letters to be.

Then, I applied a coat of this Crackle Medium.  To use crackle medium, you put a coat of it down, let it get tacky but not dry and then paint over it.  As your top coat of paint dries, it starts to crack and look aged.  In the past, I’ve always done this with acrylic paint, but this time I tried it with spray paint.

20160705_175510-01

After putting the Crackle Medium down, I placed my letters on the sign.  The Crackle was sticky enough to help the letters stick.

20160705_175903-01

Once the Crackle was tacky, I spray painted the sign with white spray paint.  Let it dry a couple minutes and then used tweezers to peel off the letters.

20160705_181546-01

You can see, the sign isn’t perfectly coated in white.  It has an aged effect.  That’s all because of the crackle.  🙂

It seems that the crackle works better with acrylic paint. It still worked just fine with the spray paint, just not as much crackling.

20160705_181815-0120160705_181422-01

Have a great weekend!

-Brooke

Ocean Themed Bathroom Re-do

Our second bath has been the same since we moved in.  The only thing I had done was paint the vanity a while back- and that was just to get some practice before tackling our kitchen cabinets.

This bathroom is the kids bathroom as well as the bathroom that guests use in our house. I wanted to make it kid-friendly, but not crazy kiddish since guests would be using it too.

Khloe and I decided to go with an ocean theme.  (She’s my new design consultant and apparently my style consultant when it comes to clothes.  I walked out wearing a green dress the other day and she said, “Mommy, are you wearing that??”  hmmm… if it’s this bad now, I’m not looking forward to the teenage years.)  Here’s the before.

IMG_8776

I didn’t go with any major changes in this room.  I kept the wall color (Sherwin Williams Chopsticks) and kept the cabinet color.  I even kept the same shower curtain.  Basically I painted the trim and added some accessories.  The whole makeover cost only around $10, but the change is dramatic.  It went from an unfinished space to a bathroom I’m proud for guests to see.  On to the pictures!!

20160705_181815-01

20160705_181727-01

Since this is the kid’s bathroom, I spray painted a cheap dollar store basket with silver spray paint and put their books in it.

20160705_181642-01

I made this print with Psalms 93:4.  I spray painted an old frame I had for some color.

20160705_181631-01

The jelly-fish prints are pictures I took on our last visit to the aquarium.

20160705_181555-01

Khloe and I made this Octopied sign (I’ll have a tutorial in a later post).

20160705_181546-01

I had originally bought this mason jar holder when I decorated Gunner’s nursery, but decided not to use it in there.  It works perfectly as a toothbrush holder.  I put a command hook on the wall right at the bottom to hold a hand towel.

20160705_181535-01

I spray painted this stool to match the bathroom.  Khloe has always used this stool, but it was just a rough, brown box.  She loves it now that it’s painted.

20160705_181521-0120160705_181433-0120160705_181422-0120160705_181412-01

It’s amazing what a difference some finishing touches can make.  Nothing like some spray paint for a quick transformation.

-Brooke

Porch Chair Upcycle

Getting ready to introduce you to my first world problem.  My porches are too big.  I know… that sounds a little bit ungrateful.

Here’s the thing, I have a husband who likes to build.  He built our beautiful front porch with a rough-cut lumber roof.

b389a-img_8876

He also built a huge deck on the back of the house that I’ve yet to show you.  I love the porches, but man, outside furniture is pricey!  When he built the back deck, we move the grill and table and chairs to the back and that left us with only a porch swing on the front. It needed some love.

I had these chairs my dad had given me years ago (I think he got them on sale for $0.50 or something crazy like that).  We have used them a lot and it was showing they were starting to rust and the paint was peeling.

First, I sanded down the rust and peeling paint to get back to a smooth surface.

IMG_9452

Then I sprayed them with Rustoleum 2X cover spray paint in Navy Blue.

IMG_9453

It only took 1 coat, but it took 1 can per chair.  Super easy and now I have a cute little sitting area on the porch.  I paired them with this adorable table I got at Five Below for $5 and some pillows that I made out of an outdoor table cloth.

IMG_9462IMG_9465

All together here is what this little makeover cost me.

Spray Paint: $8

Table: $5

Outdoor tablecloth for pillows: $4

Grand total: $17

Not bad for a happy sitting area! Oh, and I even had enough tablecloth leftover to make matching pillows for the swing 😉

IMG_9466

-Brooke

DIY Faux Metal Cardboard Letter

Sorry for the lack of posts.  We were vacationing in Pigeon Forge, TN with the kiddos.  We try not to tell a lot of people when we’re gone from the house, so I didn’t mention it in any posts or on social media.  Anyways, we’re back.

Every time I go on vacation I come home with a renewed sense of DIYness (is that a word??) Sometimes it’s nice to be gone from your house for a little while to get a fresh look at it when you get back.  This time when I came home, I was struck by the stark emptiness of my walls.  We’re on a money saving mission, so that doesn’t leave a lot of money for wall hangings.  That means getting creative with what I have and using supplies I have on hand.

The first wall I decided to tackle was the one above our office nook in the family room.  I decided to make a letter out of cereal boxes.  Say what?? Yup, I said it, cereal boxes.

My supplies included a cereal box, a slightly stiffer box, tape, scissors, marker and letter template that I printed.

IMG_8550

First, I cut out the letter template and taped it onto the stiffer box.

IMG_8560

Then, I cut the letter out of the stiffer box.  Then I cut a bunch of 1 1/2″ strips out of the cereal ox to use as my sides.

IMG_8563

I slowly ran the cereal box strips all along the edges, taping as I went.

IMG_8565

Once it was done, I put a layer of tape on top to make it as smooth as possible.

IMG_8567

I then spray painted the letter silver and after it dried, I used some black acrylic paint and a paper towel to rub it down, leaving it darker in random spots.  The black paint made it look like aged metal.

IMG_8747IMG_8750IMG_8751

Now I have a $0 faux metal letter above my desk.  It’s smiling down at me as I write this. 🙂

-Brooke

Dollhouse Tour

img_8448E

Each year we try to do a homemade gift for Khloe.  We started this her 2nd Christmas, so this is our 3rd year doing so.  We like the idea of homemade/ handmade gifts- it gives them something they can pass down, some piece of us that is in that particular toy.  Oh, and don’t worry, we didn’t forget about Gunner.  His homemade gifts will start next year when we have some idea of what he likes to play with.  Let’s be honest, this year whatever we would have made him would have just been chewed on.  🙂

So far, we’ve made Khloe a play kitchen out of a $5 cabinet (click on the pictures to view the post)-

246fd-1502328_10202328941361131_1870361591_o

Then last year, we made her DIY art center out of a table that was getting ready to be thrown away-

185ce-img_0362

This year we decided to make her a dollhouse.  One big enough for Barbies.  You would not believe how much fun I had with this thing.  Talk about reliving your childhood.

IMG_8448

Chris built the frame and I painted it, then we moved it upstairs into my closet for a little covert decorating.  All of the furniture except the washer and dryer and the kitchen cabinets came from my old Barbie stuff.

The kitchen is my favorite room in the house.  I ended up making the cabinets and stove from macaroni and cheese boxes that I glued together and painted. I used the sink and faucet from an old cabinet set that I had that wouldn’t fit in the house.  I took a picture frame and chalkboard paint to make a menu board.  The pots and pans were all different colors, so I painted them with silver spray paint to make them all match.  I also painted my old refrigerator with silver paint to give it a face lift.  I used yarn and paperclips to make the potholder.  The flooring and backsplash are scrapbook paper.

IMG_8408IMG_8415IMG_8412

In the living room, I used a couch that I had, but I gave it a fresh coat of paint.  I printed a picture of a TV with Frozen on it, and I hung a battery tealight candle upside down to make the light.

IMG_8418IMG_8422IMG_8427IMG_8417

The bathroom and nursery used my old furniture and scrapbook paper for the flooring, wallpaper and rugs.  The washer and dryer were a $5 set from Walmart, and I made the metal hangers from paperclips.

IMG_8432IMG_8429IMG_8428IMG_8438IMG_8440IMG_8435IMG_8437

Lastly, the bedroom used my old furniture, a spray paint lid as a night stand and bedding made from an old shirt.  The closet bar is just a straight piece cut out off the bottom of the hanger.

IMG_8442IMG_8441

We’ve played Barbies just about every day since Christmas and I’m still not tired of it!  I have to stop myself from coming in here after she goes to sleep and “cleaning up” the dollhouse to make it perfect again.  Did you do any DIY Christmas gifts this year?

-Brooke

Linking up to:

http://chiconashoestringdecorating.blogspot.com/2016/01/flaunt-it-friday-286.html

http://romantichome.blogspot.com/2016/01/pita-pizza-show-and-tell-friday.html


Family Room Progress

When we first moved into our house, I was so pumped about our family room.  It felt huge!  Fast-forward 6 years and 2 kids later and it has shrunk a lot.

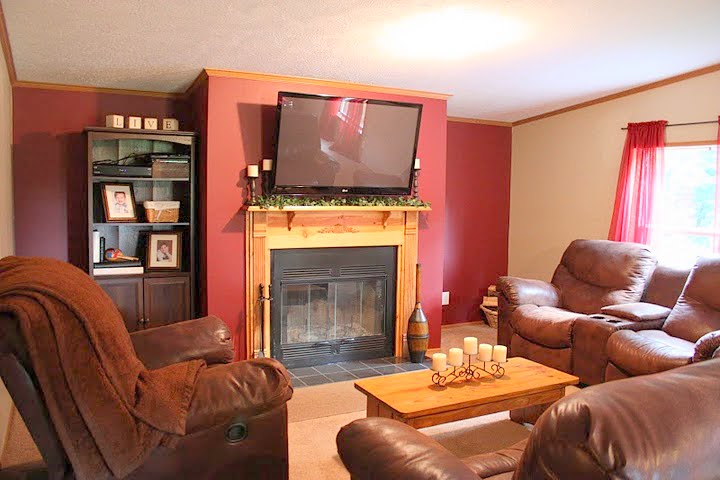
When we moved in, I used things we had to decorate.  Our wedding was dark red, so that in turn made my decorating dark red.  I had so much fabric and such leftover from the wedding, that it just kind of became the color of my house.  The curtains in this room were leftovers from the wedding, I painted a dark red accent wall, we bought a red pool table…. Boy, I really knew how to overdo something…

Truth is, I had no clue what I was doing and found myself in this red rut.  The room turned out so dark and I knew I didn’t like it, but really didn’t know what to do about it, so I lived with it for 5 years.  Every time I walked back in that room, I knew I wanted it changed.  It was the room we spent the most time in, yet it was the room that I liked the least in my house.

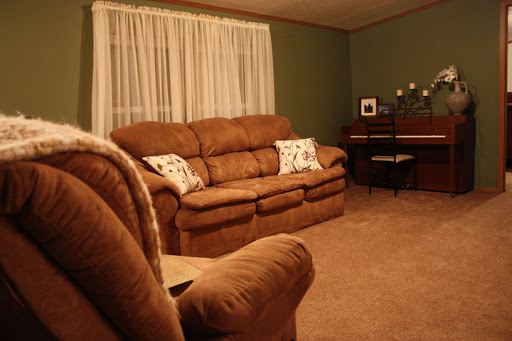
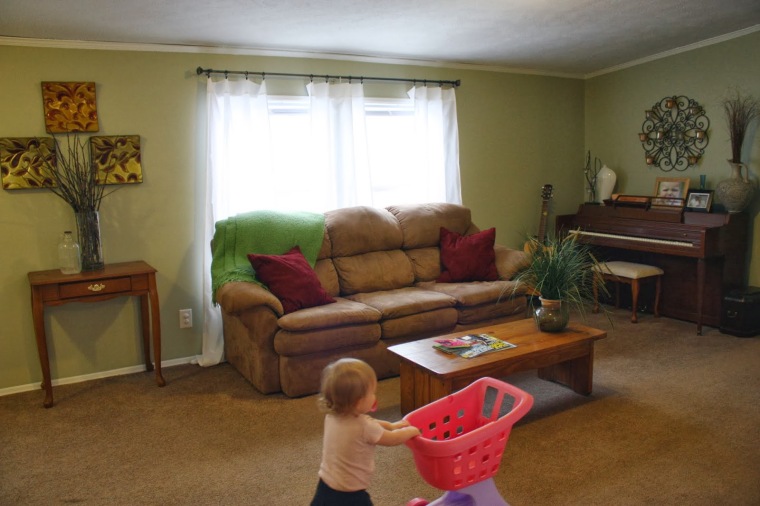
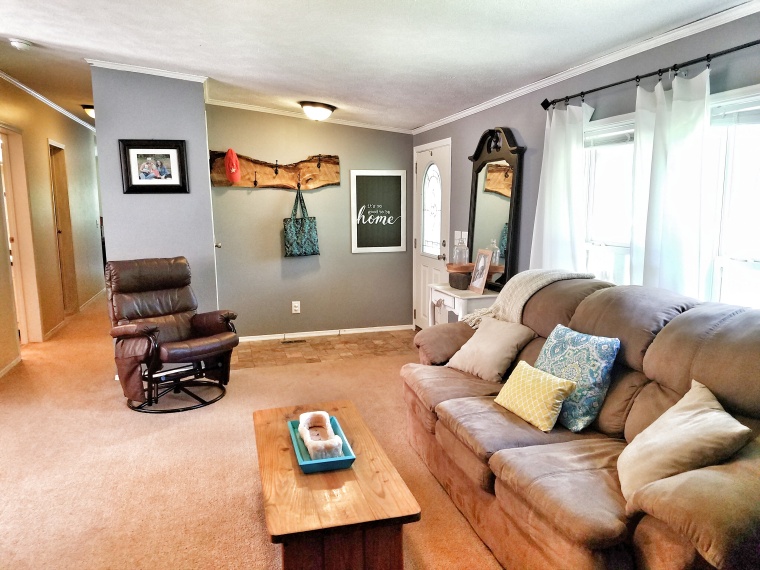
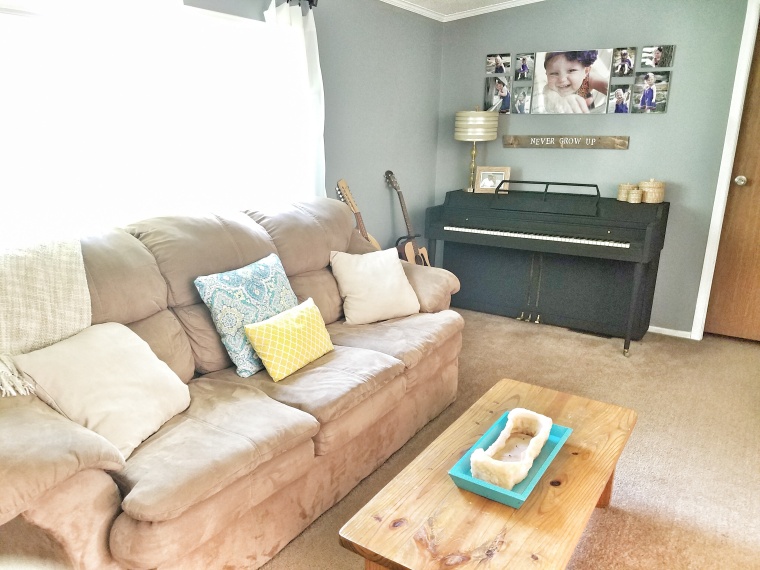
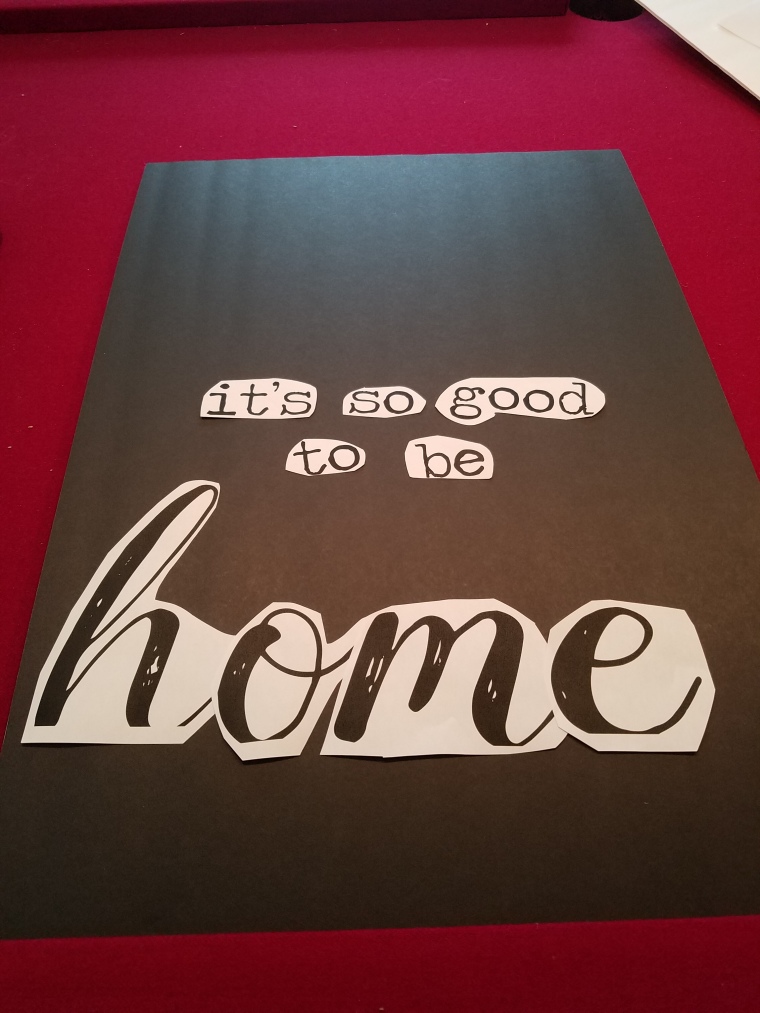
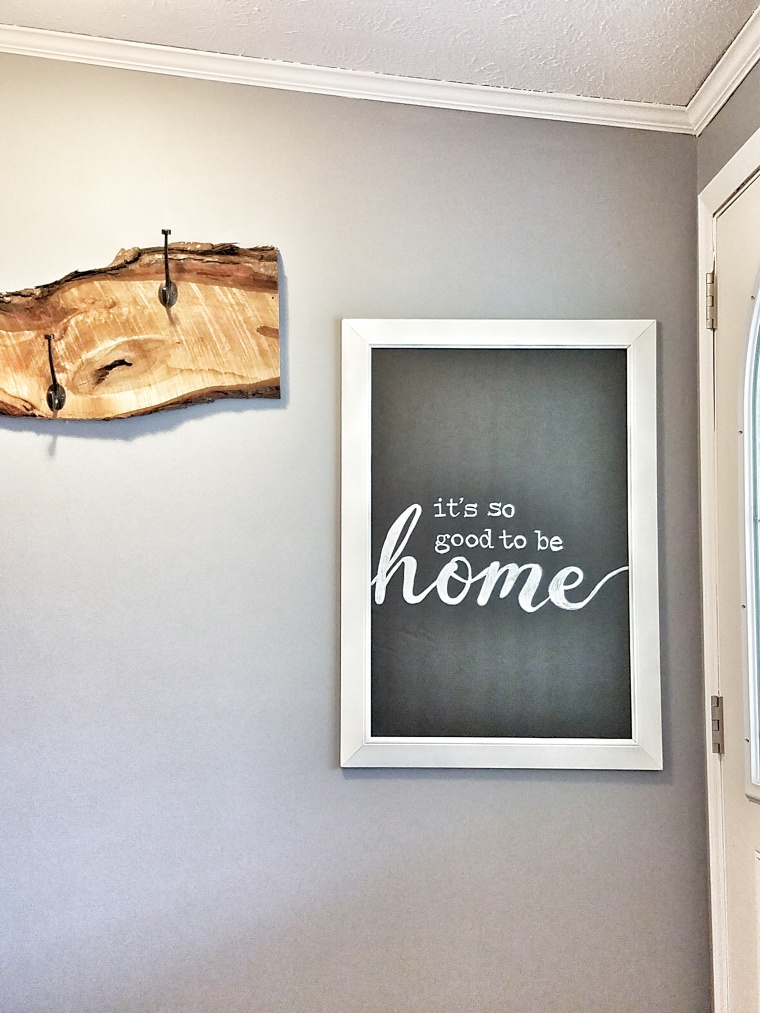
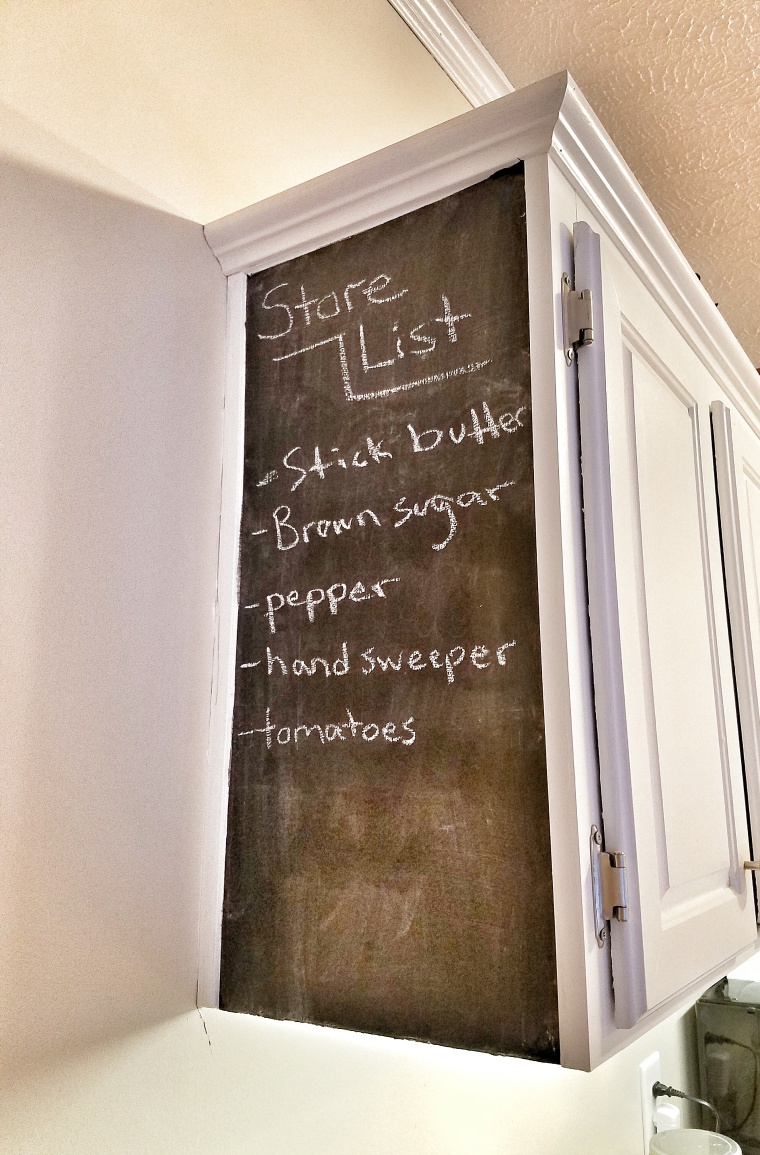
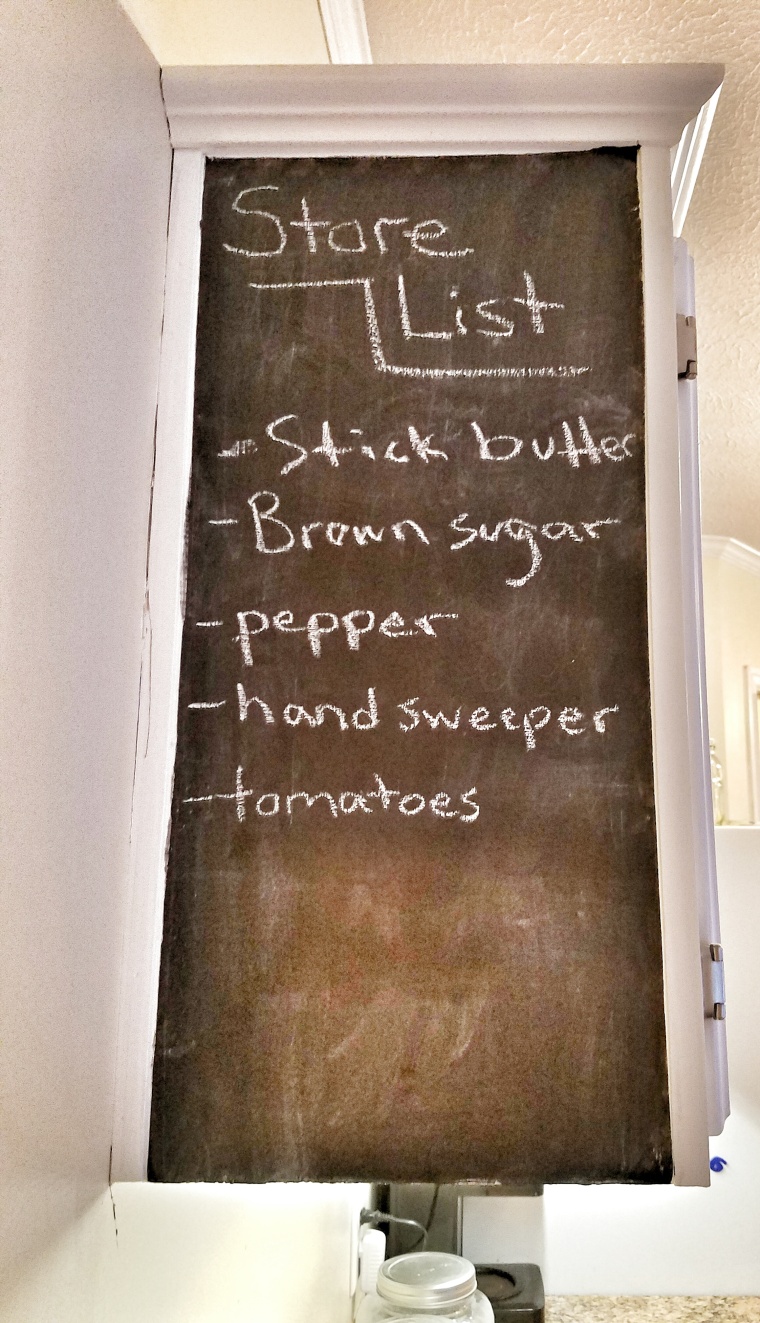
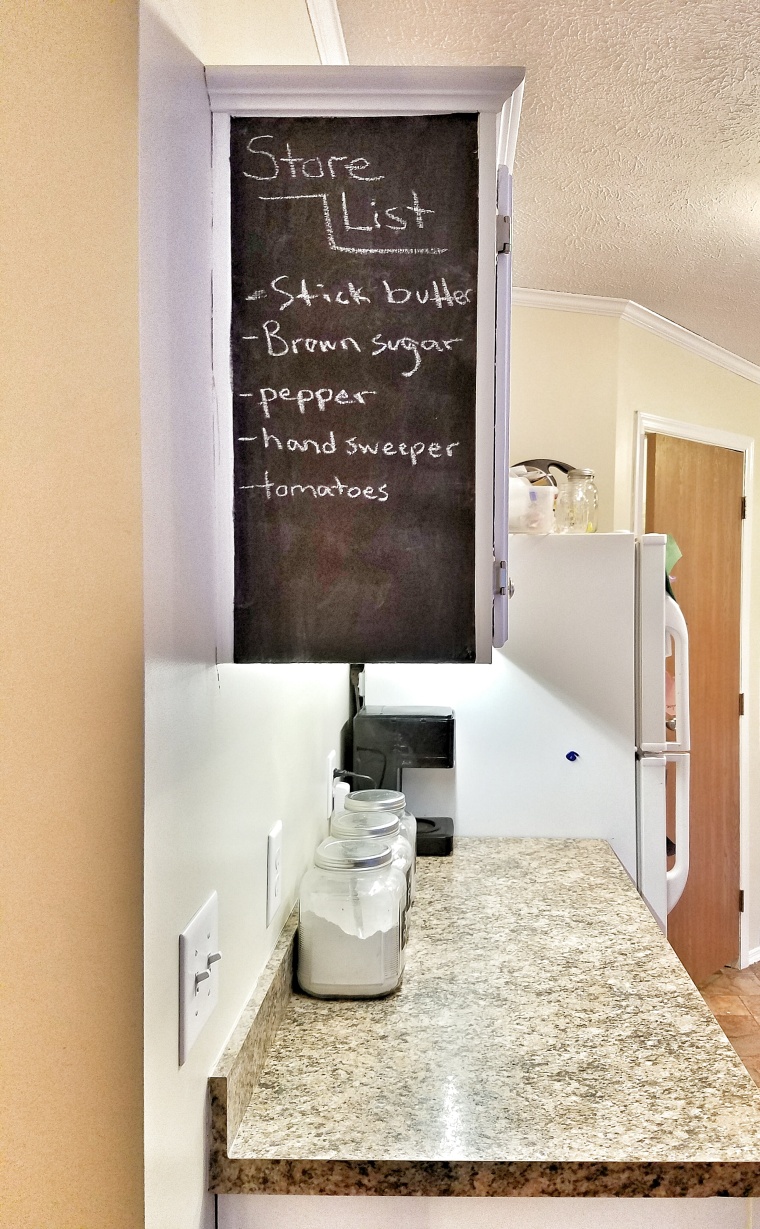
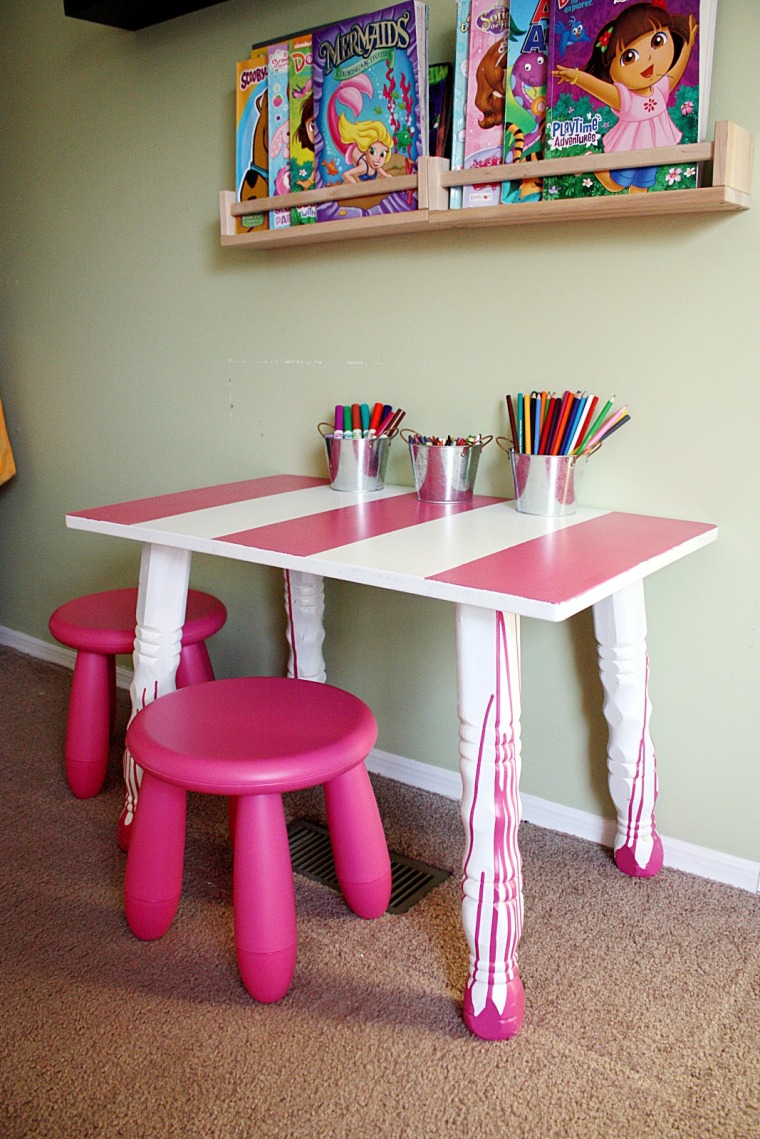
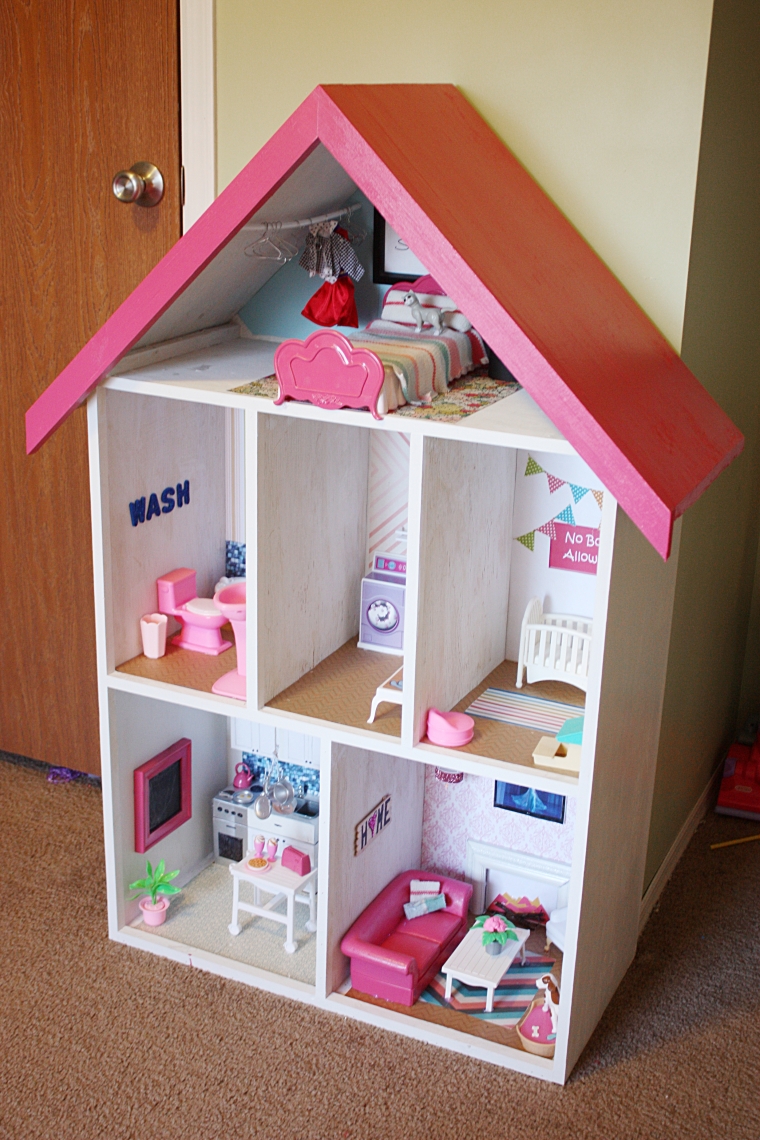
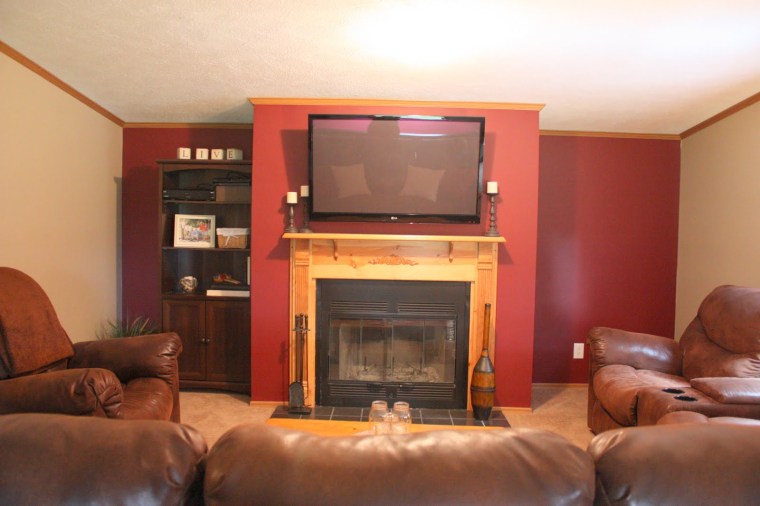
It had dark curtains, dark trim, dark furniture, a dark accent wall…. basically every bit of light was being sucked out of this room.  I knew the first step would be to lighten up.  I wanted to keep the furniture, so the accent wall, trim and curtains needed to change.  Also, since having kids, it has changed how I view a “family room”.  At one time, I wanted this room to be perfect with pretty pieces of art and not very livable.  Now all those ideas just seem stuffy to me.  I want this to be a fun, multi-purpose room where the kids enjoy hanging out.  It constantly has toys in it, and that I’ll just have to live with- maybe with some creative storage solutions.  I want there to be board games and chalkboards and kid’s art.  Fun.  I want this room to be fun.  It was time this room was tackled.

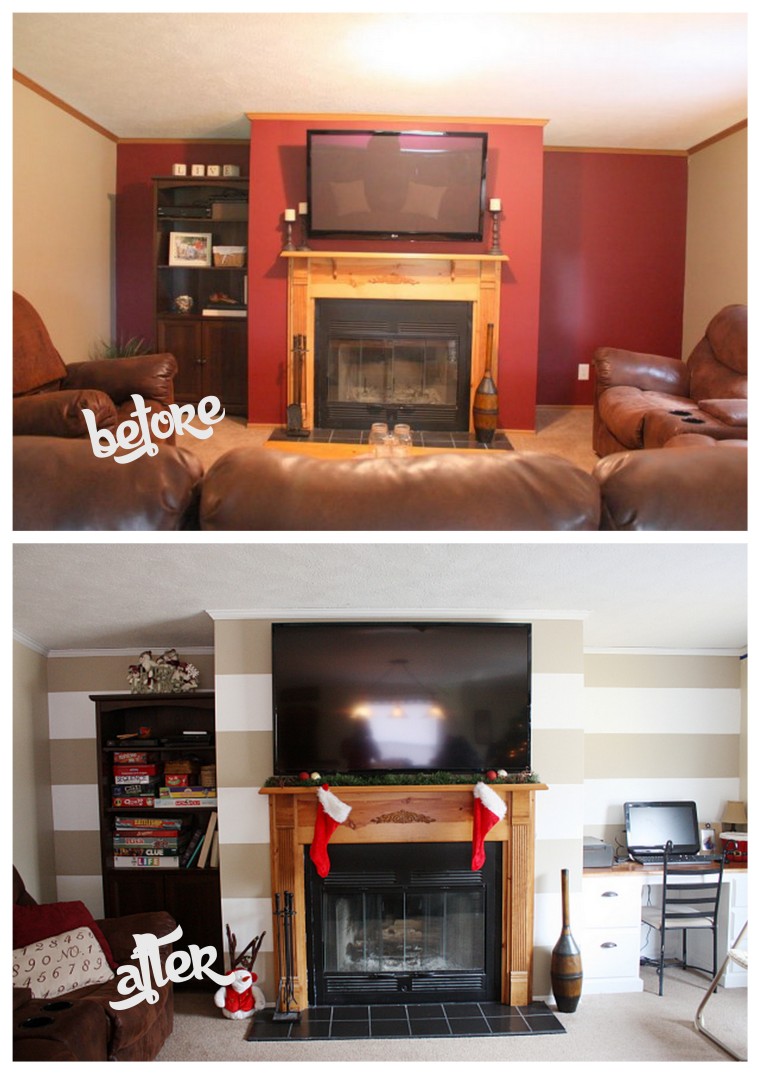
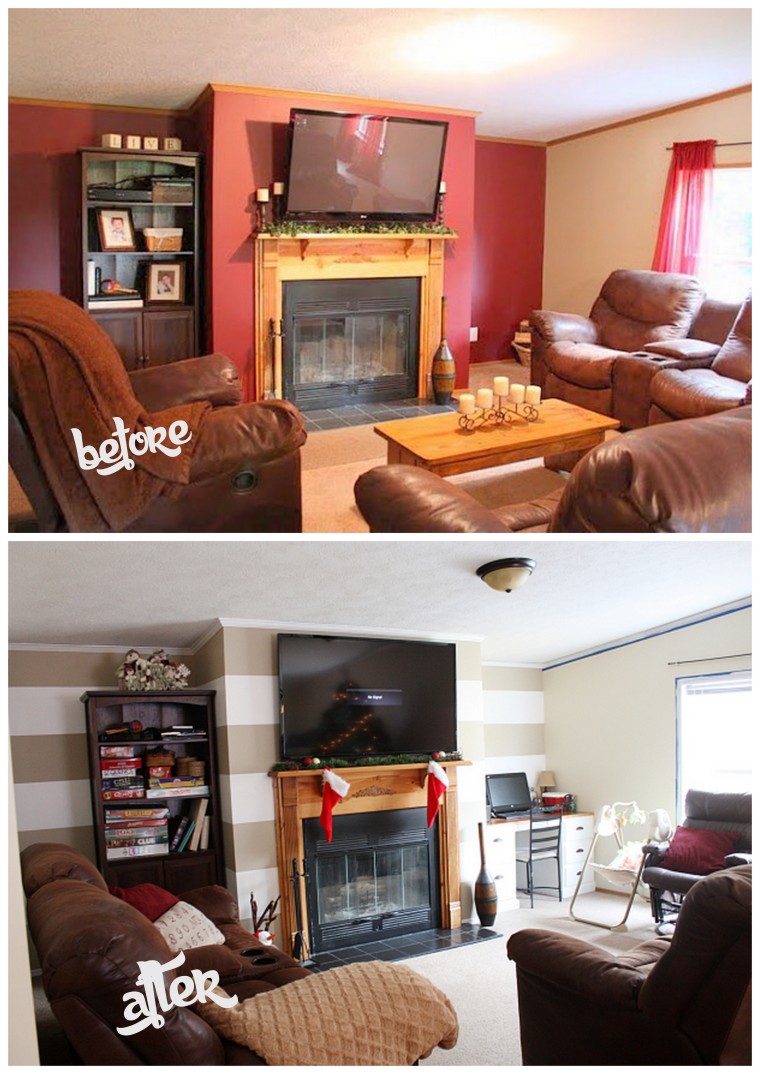
Here it is in all it’s red glory.

da697-img_401398d2b-img_3694

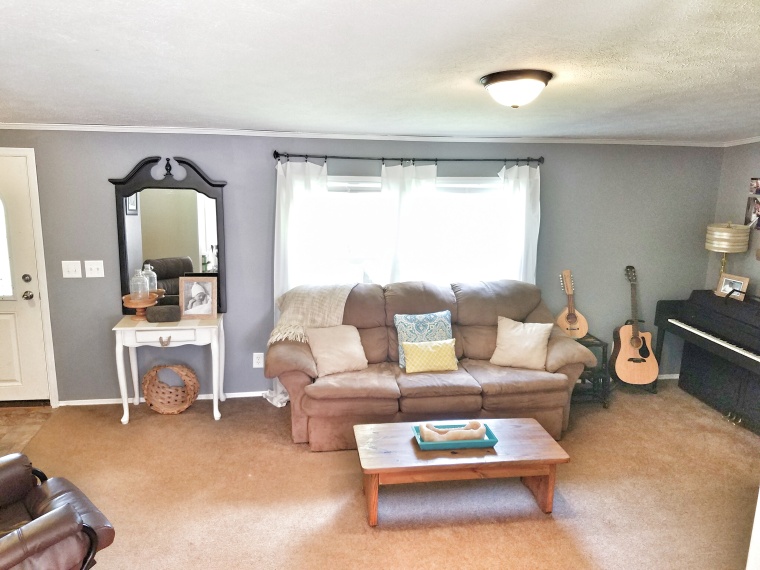
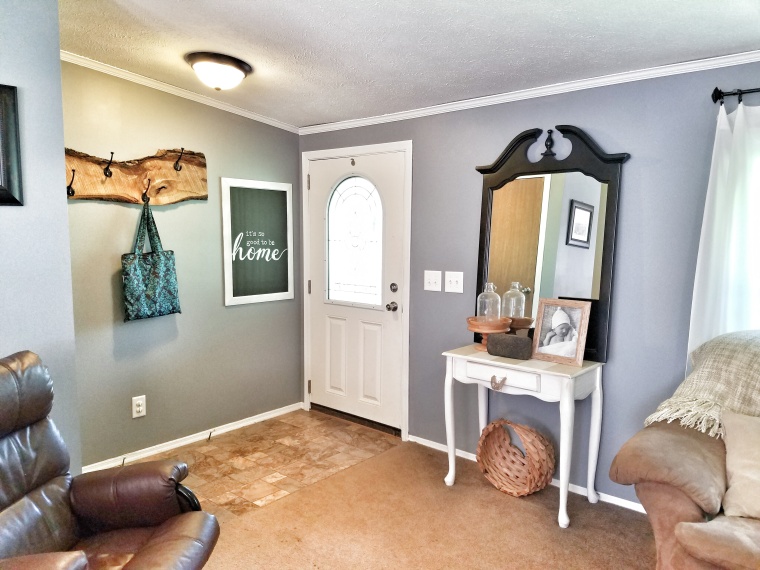
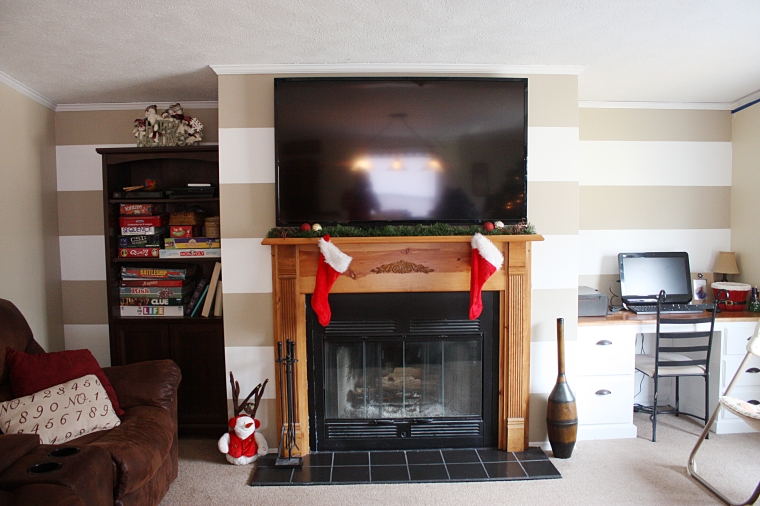
I started out by taking down the curtains and painting over the accent wall.  I like the idea of an accent wall around the fireplace, but it needed to be way lighter.  I ended up going with a tan and white striped wall.

I started out by priming the wall to cover the red.  Then I painted the entire wall with white paint.  I used Frog tape and a level to tape off my striped.  They are 15”.  It was fun to do and lightened up the room so much.  Bonus, it made the room feel wider.  The same way stripes make my hips look wider….

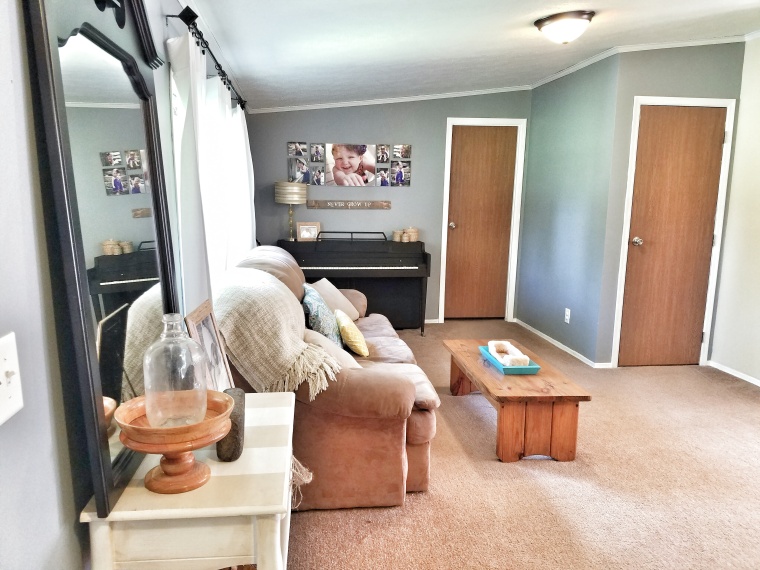
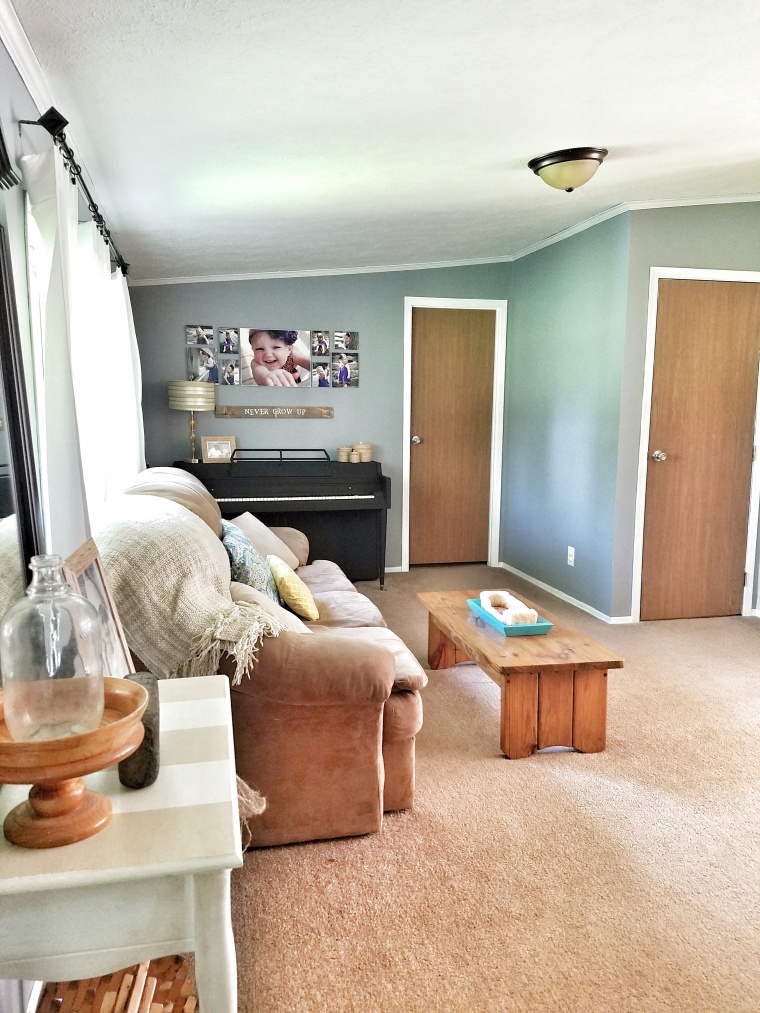
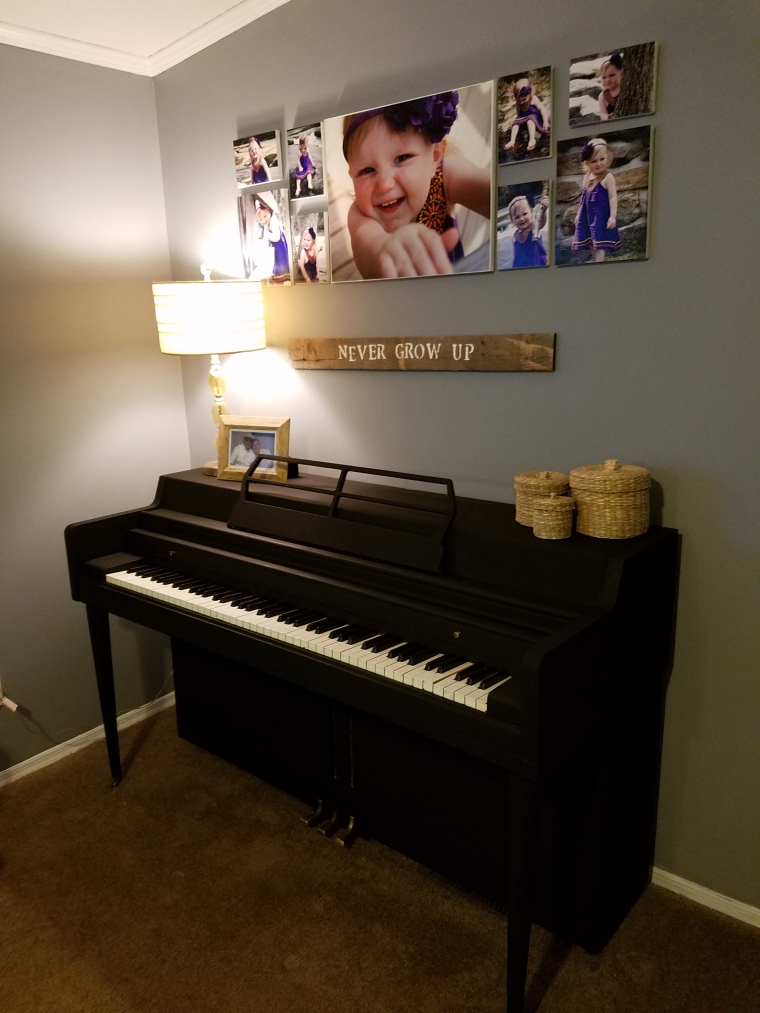
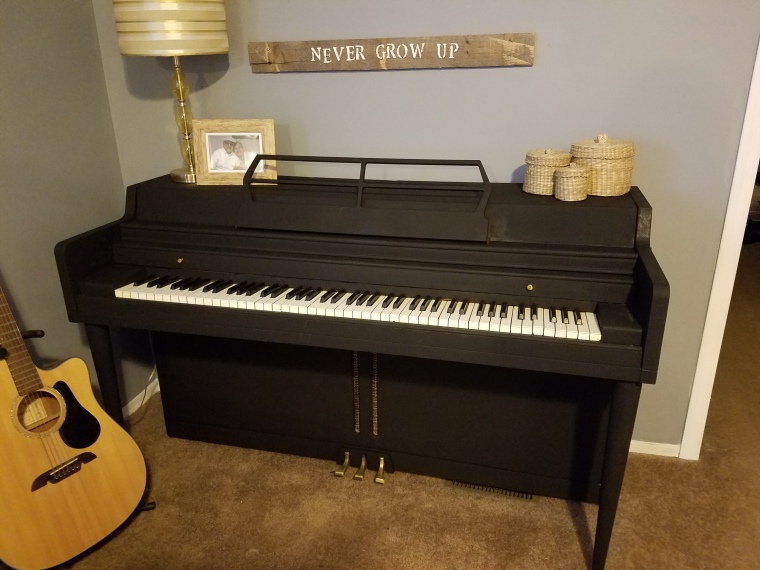
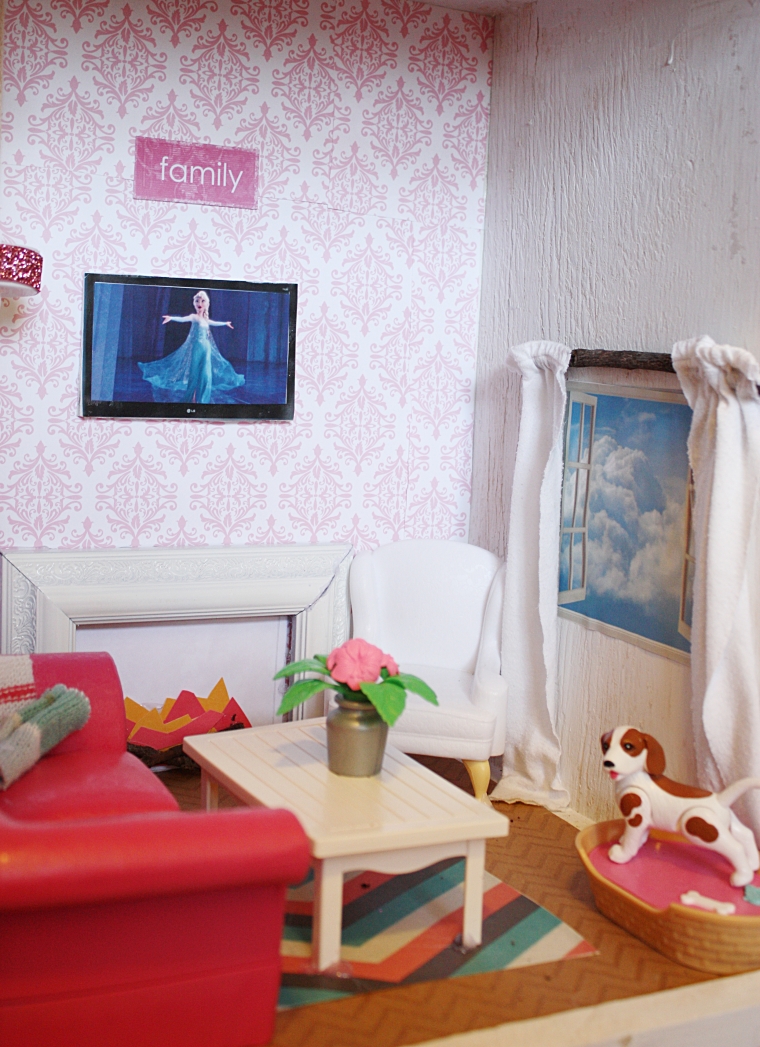
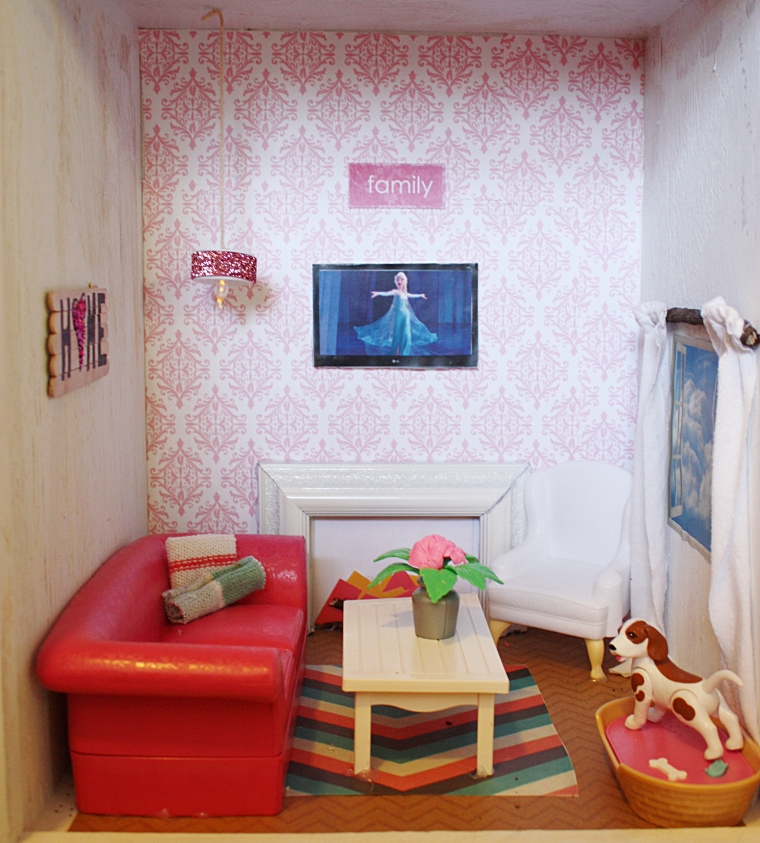
Here she is now.  I’m still on a high looking at these stripes.

IMG_8222IMG_8220

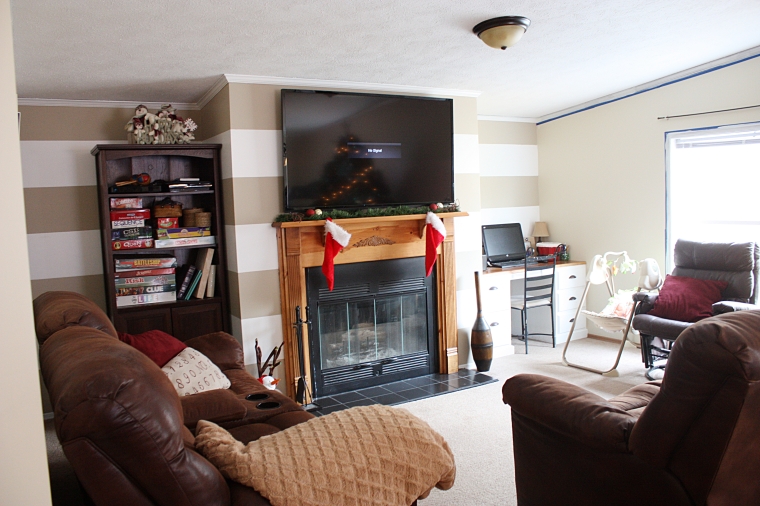
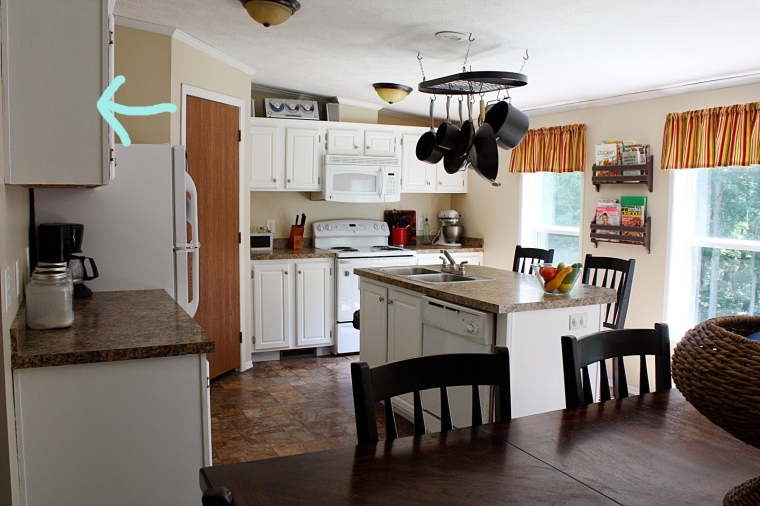
So far, I have the accent wall painted and the most of the trim done.  You can see on the right hand side of the picture a bit of trim that’s still in the works.  After that is done, I’ll tackle what to put on them big ol’ blank walls.

PicturesPictures1

-Brooke